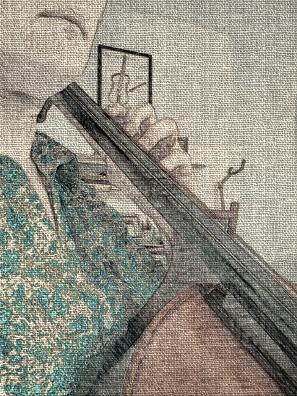
Quite often, students need to re-learn how to let first finger lift and drop. First finger doesn't have the other fingers for support and can collapse unless you train it to operate properly. Here are instructions for an exercise to learn the finger action or you can watch the video below.
- Gently place all 4 fingers on a string so they are lightly touching the string. Don't press the string down. Lift the first finger keeping it curved and leave the others touching the string.
- Now let first finger stay touching the string and lift fingers 2, 3 and 4.
- Now keep fingers 2, 3 and 4 off and lift and drop only the first finger. This forms a C shape with only thumb and first finger .
Jumping Jacks are a great way to start learning the feel of how all the fingers "operate" together. To see how to do Jumping Jacks, watch the video on the Teaching Beginners page.
If you have learned the piano before the cello, the fingers usually want to play independently and this is not always appropriate on the cello. If we need to play a descending scale, then all the fingers have to be on the string as you go to a 4th finger. Another tendency of students who are pianists, when playing 1st finger followed by 4th finger, the 2nd and 3rd fingers stay in the air and they need to be trained to come down at the same time as the 4th finger. You don't want any "pop-ups" as I call them.
( insert video here )

Angled versus square hand
A square hand means that the base knuckles are all the same distance from the fingerboard. To angle the hand, turn the palm to face a wall in front of you rather than palm facing the neck of the cello. Don't overdo this . A square hand is needed for certain double stops but for everything else on the cello you can use an angled hand. You have to use an angled hand when you go past 4th position anyway.